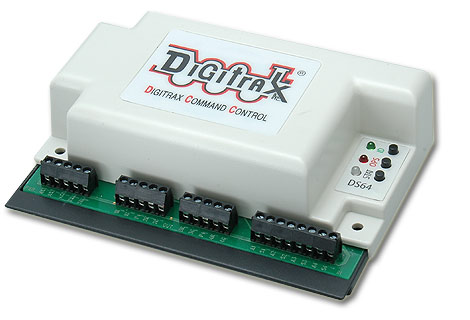
There are three different ways to power the DS64. Track power (Trk A and Trk B), Auxiliary power (AX1(-) and AX2(+)) and power through the rear modular power connector. Connect the Trk A and Trk B screw terminals of the Power and Track Connections to the corresponding Rail A and Rail B track connections. The PS14 power supply can be used with Auxiliary or the rear modular power connector. The DS64 requires 300mA for proper operation. Only one DS64 can be powered per PS14. A generic DC power supply between 12-16vdc and 300mA can be connected to a DS64 using the AX1(-) and AX2(+) power inputs on the Power and Track Connections screw terminal. Power can be daisy chained to additional DS64s as long the polarity matching of AX1(-) and AX2(+) is maintained. A generic AC or DC power supply between 12-14vdc and 300mA can also be plugged into the rear modular power jack. The power supply used must provide enough current if it is powering more than one DS64. For example two DS64s will require 600mA.
Some additional information for the DS64. If using Trk A and Trk B to power the DS64, no LocoNet connection is necessary. Switch commands will be sent through the rails to the DS64. If using Auxiliary power or the rear modular power connector, a LocoNet connection must be made for the DS64 to receive switch command. Some layout owners use a separate Booster to power only the DS64s.
NOTE: If your DS64 is powered by an auxiliary power supply, the static output voltage for use with slow motion turnouts will be 12 volts. If your DS64 is powered by the track (TRKA & TRKB), then the static output voltage will be equal to the track voltage. For the pulse output mode for use with solenoid and bi-polar turnouts, the voltage is always approximately 20 volts.