If you have more than four turnouts, you will need to program the addresses.
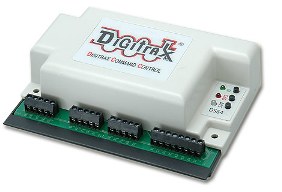
The DS64 has 4 Output pairs labeled 1R & 1G, 2R & 2G, 3R & 3G, and 4R & 4G. The DS64 is shipped from the factory with these outputs programmed as Switch Addresses 01, 02, 03, and 04 respectively. You can set the Switch Address of each of these four Outputs to any value from 01 - 2048.
NOTE: During this procedure the DS64 must be connected to an active LocoNet with an active command station.
1. On the DS64’s control panel, press and hold the ID button down for 3 seconds until the green LED slowly blinks on and off. This indicates that the DS64 is ready to accept address programming for the Outputs.
2. Using your DCC throttle in Switch mode, select the Switch Address you want to program for Output 1 and issue either a Closed OR Thrown command. The LEDs will start to blink faster indicating that your Output 1 is programmed to the Switch Address you selected.
3. Repeat step 2 to program the Switch Address for Output 2. The LEDs will blink faster indicating that Output 2 is programmed to the address you selected.
4. Repeat this process for Output 3 and Output 4. After Output 4 is programmed, the alternating lights will stop and you will see a single green ‘heart beat’ this is visual confirmation that all 4 Outputs have successfully been programmed to the Switch Addresses you selected.
Note: To change a single Switch Address, you must program all four Switch Addresses on a particular DS64.
If you make a mistake while programming, you’ll need to complete the programming cycle and then go back and start again. The DS64 does not timeout during programming so, you must program 4 switch addresses each time you enter the ID mode.
Note: You will also need to change the Board ID for any additional DS64's.