The UR92 is simple to install and begin using in your new or current layout.
1. In most cases a UR92 should be situated near the physical center of a layout and will typically cover a circle of about 300+ feet (~100 meters) across, which will be adequate for most layouts. Some layouts may require additional UR92s for adequate signal coverage.
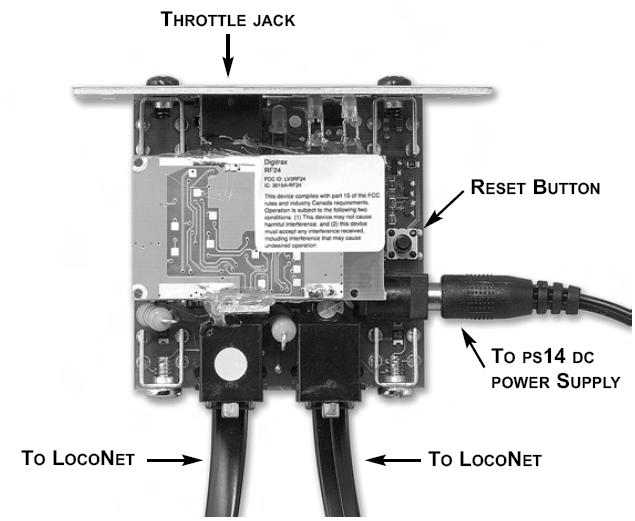
2. Connect the PS14 DC power supply to UR92 via the DC power jack on the side. The green and red LEDs should blink and then the red LED should stay on.
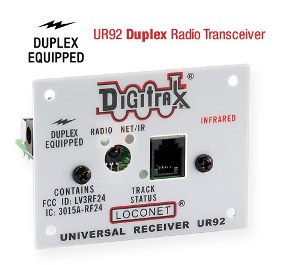
3. Connect the UR92 to your working LocoNet system using one of the RJ12 jacks at the rear of the UR92. The red LED will go off and the GREEN Radio LED will blink at a 2-second interval to indicate that it is working and set up for duplex radio operation.
4. If you layout has UR91s or UR90s installed, re-set the LocoNet ID by plugging in any DT402 throttle while holding down the EDIT key. Release the EDIT Key. Use the R throttle knob to set the LocoNet ID (00-07) you want to use and press Enter to complete the LocoNet ID set up. As simplex and infrared throttles plug in to LocoNet, they will log on to the LocoNet ID automatically and all three technologies will work together.
Thats all that's required for installation of your UR92 on LocoNet!