Kato N-Scale GG1 steps needed for the DN163K1D decoder
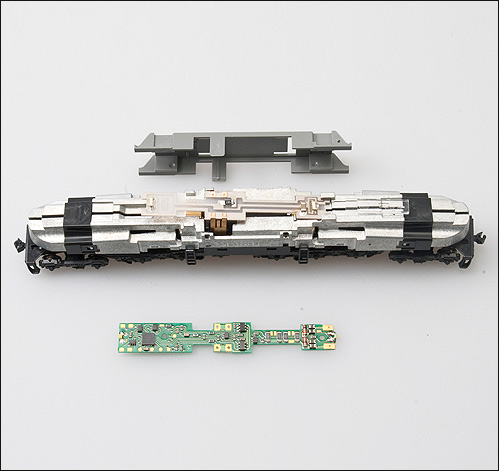
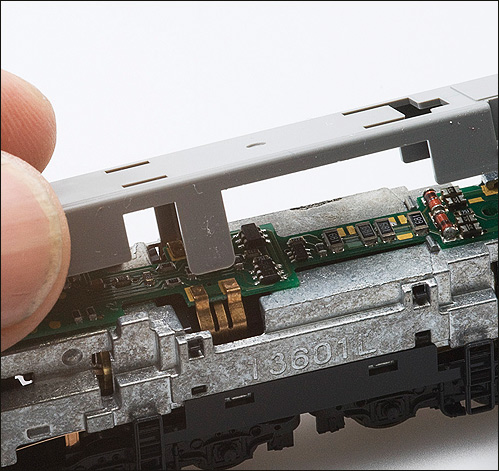
Carefully remove the locomotive’s shell and light board retainer from the frame.
Notice the orientation of the light board inside so that you can install the new decoder in the same orientation.
Carefully remove the factory light board by sliding it toward the back of the locomotive and out from under the forward frame notches.
Then gently lift the board out of the frame.
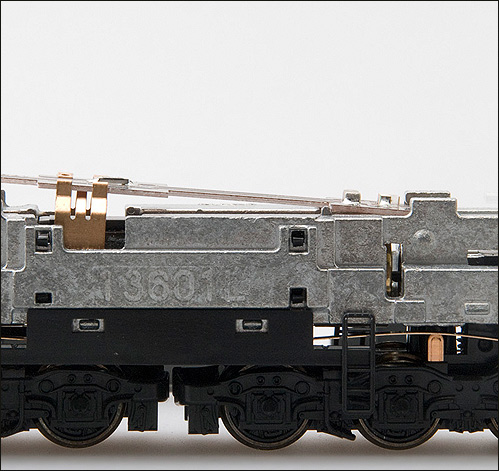
Be careful not to bend or damage the motor tabs.
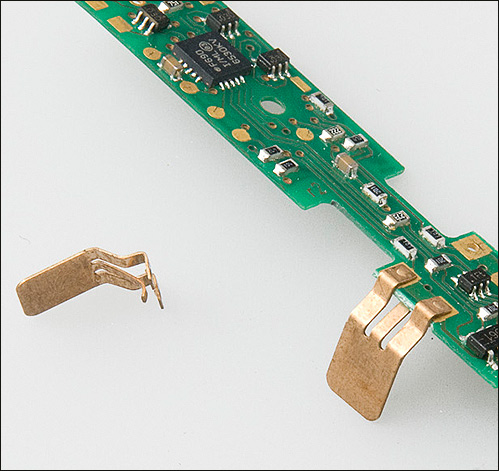
Carefully remove the motor tabs from the factory lightboard.
The motor tabs attach to the board with spring tension.
Reinstall these motor tabs onto the DN163K1D decoder board as shown above.
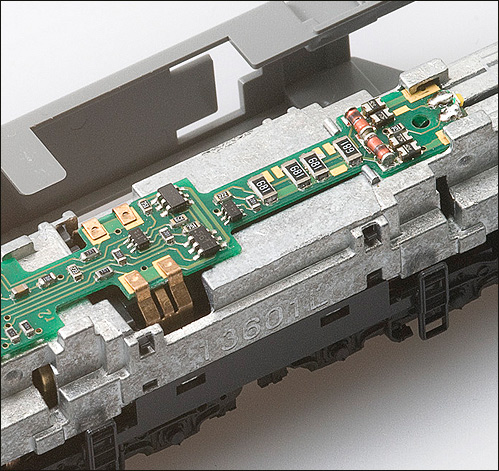
Install the DN163K1D decoder by tilting it slightly as you insert the front corners into the forward frame notches.
Slide the decoder board forward so the board’s corners are under the frame clips.
Carefully maneuver the decoder motor tabs down over the motor contacts.
Done correctly, the motor tabs should loosely touch the motor contacts.
Check placement of the forward light pipe extender.
The DN163K1D decoder is designed so that you will not need the rear light pipe extender.
Replace the light board retainer as shown in above.
The light board retainer has two plastic tabs that keep the motor tabs firmly pressed onto the motor contacts.