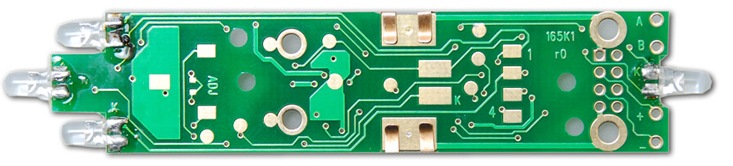
DH165K1A Board Replacement Decoder Fits Kato SD40-2, AC4400
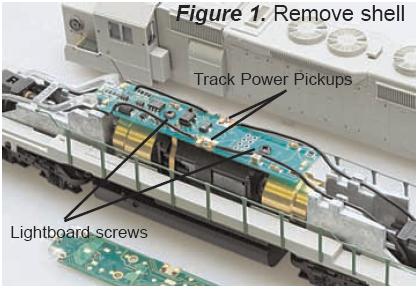
1. Carefully remove the locomotive’s shell from the frame.
Note the orientation for proper reinstallation (Figure 1).
2. Remove the four track power pickup wires clipped to the lightboard at mid point (Figure 1).
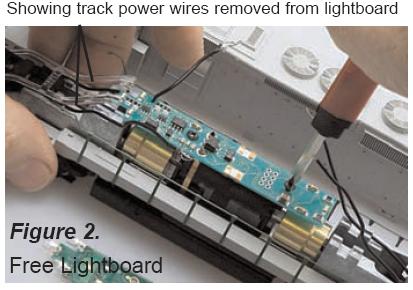
3. Unscrew the two screws securing the lightboard and lift it from the frame. (Figure 2)
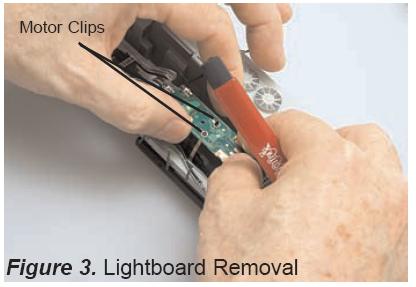
4. Remove the lightboard by pulling it gently straight up, off the motor clips. (Figure 3)
5. Decoder installation is the reverse of what we’ve done so far.
Snap the decoder into place over the motor clips.
Be sure motor clips are spread enough to engage snugly in decoder holes.
Secure the decoder with screws. (Figure 4)
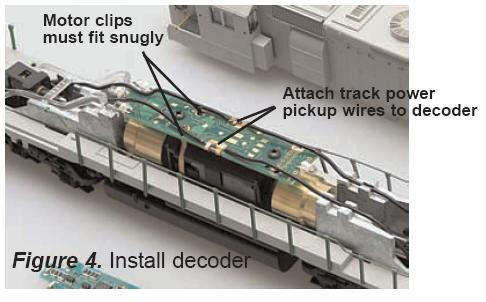
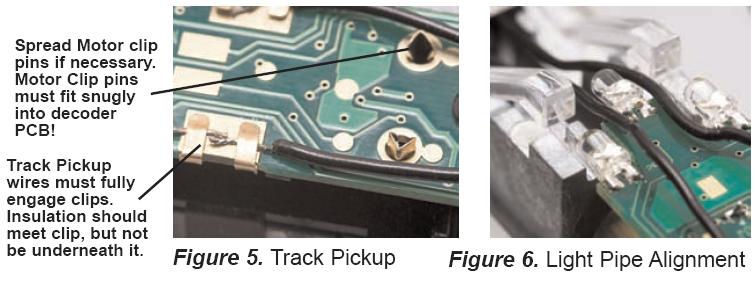
6. Re-attach Track Power Pickup wires (Figure 5) and check Light Pipe alignment(Figure 6)
7. Replace the locomotive shell.
8. Digitrax decoders are set up with configuration variable (CV) factory settings so you can run your locomotive using address 03.
This installation will allow the loco to run short hood forward.
To setup ditch lights to operate on F2/Horn key, program CV51=106 and CV52=107