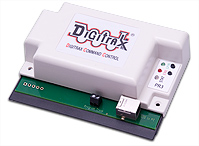
- When the PR3 is powered up and properly operating, the green ‘USB’ light on the PR3’s control panel will be blinking steadily and the red ‘STAT’ will be blinking momentarily.
- Make sure the supplied SoundLoader Installation CD is inserted in your PC's CD player.
- Plug the PR3’s USB cable into a vacant USB socket on your PC .
- Depending on which operating system you have on your PC, you will next see a dialog box appear on your PC’s monitor. The procedure we document in the following pages is for Windows XP, if you have Windows Vista®, Windows 2000®, or Windows 98SE®, please refer to the PR3 help file (PDF format) on the PR3 Installation CD.
Note: Regardless of your Windows version, the PR3 requires that the Windows use the device driver that is shipped on the PR3 installation CD.
Do not let Windows attempt to install the software drivers automatically - direct Windows to install the software driver from the specific Windows version directory on the PR3 installation CD.
If using Windows XP, when the PR3 USB cable is connected, the following screen should appear.
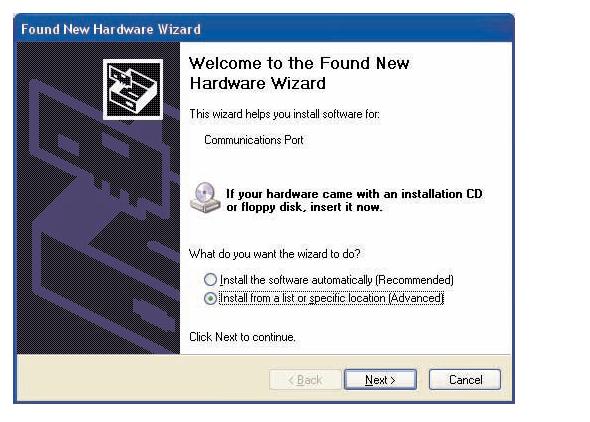
Select the "Install from a list or specific location" button.
Click Next.
The following screen should appear.

Note: In this example, "d" is the drive that you have placed the installation CD.
Select "Search for the best driver in these locations:” Click “Include this location in the search:” option box Browse to the "win_xp_vista32_64" folder on the Soundloader Install CD and click the “Next” button.
Click "Next" to advance to the next screen.
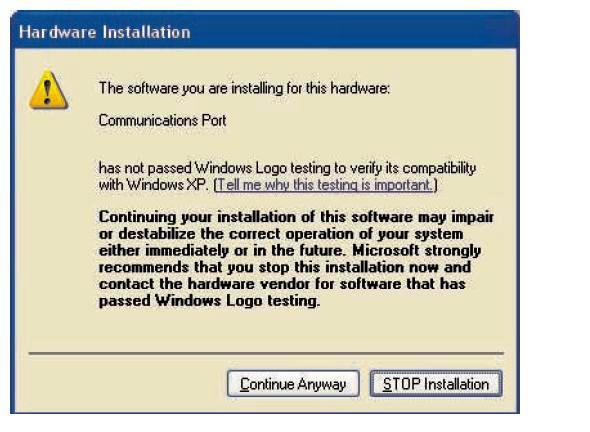
Click on "Continue Anyway" and following final screen should appear.
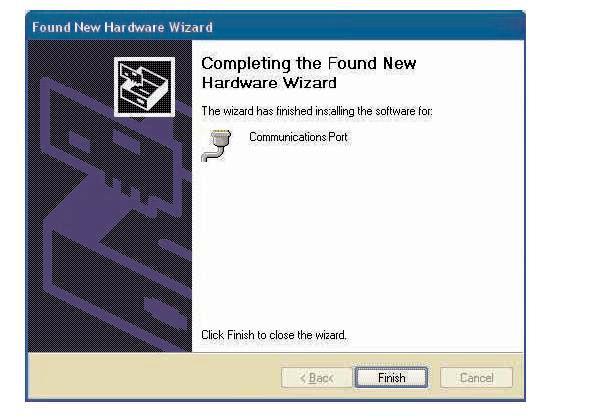
Click “Finish” You’ve now completed the driver installation for Windows XP.
Note: If the driver installation process fails, you will have to uninstall the VCOM USB driver before attempting reinstallation.
We have included on the PR3 installation CD a utility called USBDeview for this purpose.
The process is simple, run the USBDeview program, location the VCOM driver in the list and right click to uninstall - Please refer to the Readme file on the installation disk for further reference.